
Con 20 años de experiencia en la fabricación, ofrecemos un servicio integral que abarca el diseño de moldes, la fabricación de moldes, el moldeo por inyección y la producción del producto terminado.



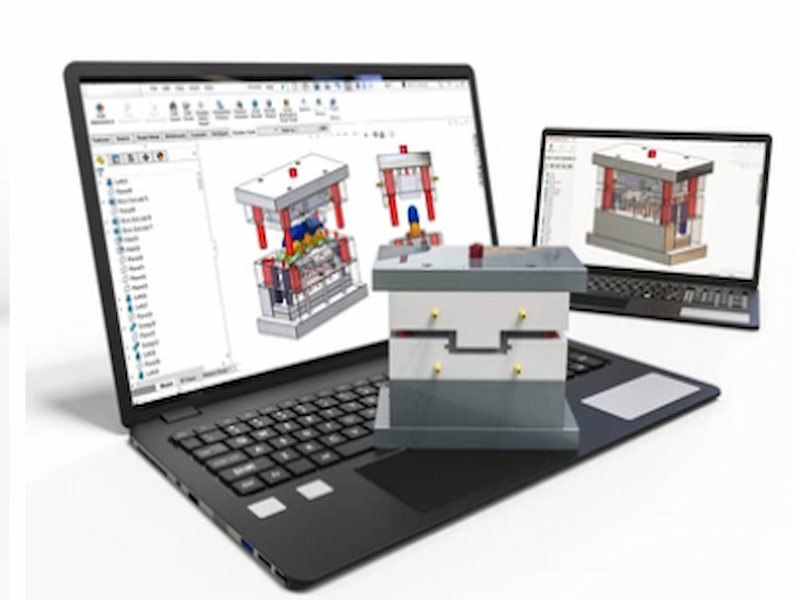
Con 20 años de experiencia en la fabricación, ofrecemos un servicio integral que abarca el diseño de moldes, la fabricación de moldes, el moldeo por inyección y la producción del producto terminado.
Surface finish is one of the first things a customer notices and one of the last things a project team specifies. In most injection molding projects the finish ends up as a single line on the drawing — or worse, as a sentence in an email — and by the time the first samples arrive it is too late to change it cheaply. This guide explains the SPI finish standard, the texture systems used alongside it, how finish interacts with part design and molding, and how to specify it so the mold is built right the first time.
The finish you see on a molded part is a copy of the cavity surface, transferred under heat and pressure. That has a practical consequence: finish is set when the steel is polished or etched, not when the parts are molded. Changing it later means re-polishing or re-etching the cavity, and usually another trial round to confirm the result. Deciding the finish before the cavity is machined costs nothing. Changing it after T1 costs days, and sometimes a new texture plate.
The SPI standard (defined by the Society of the Plastics Industry, now the Plastics Industry Association) describes twelve mold finishes in four groups: A glossy, B semi-glossy, C matte, and D textured. Each grade pairs a finishing method with an expected surface roughness (Ra).
| SPI grade | Group | Finishing method | Typical Ra (µm) | Typical use |
|---|---|---|---|---|
| A-1 | Glossy | #3 diamond, 6000 grit | 0.012–0.025 | Optical and clear parts, high-end cosmetic surfaces |
| A-2 | Glossy | #6 diamond, 3000 grit | 0.025–0.05 | Clear covers, lenses, appliance fronts |
| A-3 | Glossy | #15 diamond, 1200 grit | 0.05–0.10 | Glossy consumer housings |
| B-1 | Semi-glossy | 600-grit paper | 0.05–0.10 | Visible cosmetic parts |
| B-2 | Semi-glossy | 400-grit paper | 0.10–0.15 | General cosmetic parts |
| B-3 | Semi-glossy | 320-grit paper | 0.28–0.32 | Housings and covers |
| C-1 | Matte | 600-grit stone | 0.35–0.40 | Fingerprint-resistant parts |
| C-2 | Matte | 400-grit stone | 0.45–0.55 | Keyboards, laptop frames, business equipment |
| C-3 | Matte | 320-grit stone | 0.63–0.70 | Industrial enclosures |
| D-1 | Textured | Glass bead blast #11 | 0.80–1.00 | Satin grip surfaces |
| D-2 | Textured | #240 aluminium oxide blast | 1.00–2.80 | Power tools, automotive trim |
| D-3 | Textured | #24 aluminium oxide blast | 3.20–18.0 | Deep-grip and heavy-duty surfaces |
An as-machined finish (around 3.2 µm Ra with visible tool marks) is acceptable for hidden or purely functional surfaces. It is the default when no finish is called out, which is exactly why unplanned finishes so often look wrong.
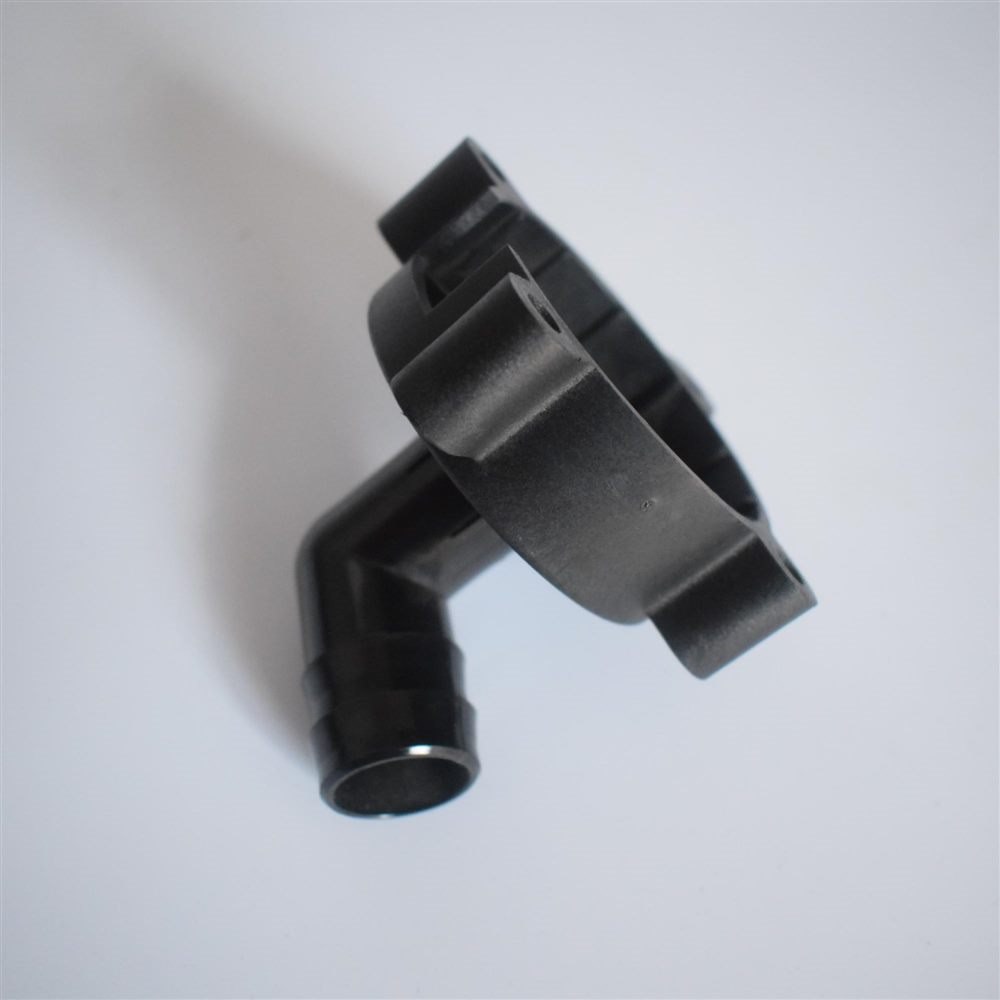
SPI grades cover polishing and blasting, but most consumer products use an etched pattern instead. Those patterns are specified with a texture number rather than a grade:
A texture number without a source is not a specification. Always give the toolmaker the texture plate reference (MT, VDI or YS) plus a physical or photographic sample, because the same number can look different depending on the etch depth achieved and the resin used. Etching is usually a specialised subcontracted step, so it belongs in the lead-time plan from the start.
A polished cavity releases easily; an etched one grips the part. Deep textures commonly need 2–3° of draft where a polished surface can run at 0.5–1° per side. If the finish is chosen after the part geometry is frozen, the draft is often insufficient and the result is drag marks or a visible scuff on every part.
Texture increases friction during ejection. Ejection area, ejector pin layout and polish direction all matter: a surface polished across the draw direction shows scratches, while one polished along it releases cleanly.
High gloss reveals everything. A weld line that is invisible on a matte C-2 surface can be obvious on A-2, and gate blush shows up on glossy parts even when the molding window is correct. If the part must be glossy, plan gate position and flow analysis early rather than discovering it at T1.
Not every plastic accepts every finish. Acrylic, polystyrene and polycarbonate take a high polish well; polypropylene is difficult to bring to A-1 and is usually specified no glossier than A-3 or B-1. Polycarbonate is also a poor match for heavy textures in the D-2 / D-3 range. Where the appearance is critical, confirm the material and the finish together.
Gloss signals premium and gives crisp reflections, but it shows fingerprints, fine scratches, sink marks and flow marks. Matte hides handling marks and small sink, and it reads as tool-like and functional. Textured surfaces add grip and hide wear, at the cost of more draft and a harder-to-clean surface. A common and practical compromise for consumer electronics and appliances is a semi-gloss B-1 / B-2 body with a light texture on contact areas.
| Defect | Typical cause | Practical fix |
|---|---|---|
| Patchy gloss | Uneven polishing, uneven cavity temperature | Re-polish against a master plaque; review cooling layout |
| Flow marks | Cold melt, small gate, slow fill | Raise melt and mold temperature, enlarge gate |
| Silver streaks | Moisture in the resin | Dry the material to the supplier’s specification |
| Visible weld line | Low melt temperature, awkward gate position | Move or enlarge the gate, raise temperature, add overflow |
| Drag or scuff marks | Insufficient draft on a textured surface | Add draft, polish along the draw direction |
| Blotchy texture | Uneven etch depth, poor masking | Re-etch, protect masked areas with a proper resist |
Polishing time scales steeply with grade: a large cavity taken to A-2 can absorb several days of skilled hand work, while C-2 or a light texture is comparatively quick. Texture etching adds a subcontracted step of roughly two to five days plus a trial to confirm the grain. Every finish change after T1 adds another trial round. In short, the finish is a small line on the drawing and a meaningful line in the tooling budget — which is why it should be decided with the DFM review, not after the first samples.
Most visible consumer parts sit in the B-1 to B-3 range, or use a light MT texture on the housing with a glossier accent part. Pure high gloss (A-1 / A-2) is reserved for optical parts and clear covers, where the molding window and gate design have to support it.
Polishing to a finer grade is usually possible. Going from polished to textured requires etching and a new trial, and heavy textures are difficult to polish out afterwards, so a texture change late in the project can mean reworking the cavity or making a new insert.
It changes tooling cost and cycle time, and on cosmetic parts it changes the scrap rate. At volume the per-part difference is small; the tooling difference between a matte finish and a full mirror polish can be significant.
With an Ra tester for roughness, a gloss meter at an agreed angle for appearance, and a visual master plaque inspected under defined lighting. Agreeing the master plaque before the trial avoids arguments about what “matte” means.
Send your 3D model, 2D drawing and target appearance to Heyuexin Technology. Our engineering team reviews the finish together with draft, gate position and material during the DFM stage, proposes an SPI grade or texture number that fits your product and budget, and confirms the polishing or etching time in the tooling schedule. We support mold design and fabrication, polishing and texturing, injection molding, CNC machining and assembly — from prototype to volume production.
Upload your STEP, IGES or PDF files and tell us how the part should look and feel — we will confirm the finish, the tooling cost and the lead time before you place the order.

Derechos de autor © 2026 Xiamen Heyuexin Technology Co., Ltd. Reservados todos los derechos .
dejar un mensaje
Escanea y envíalo a WeChat. :

Escanea y envíalo a WhatsApp. :